Stiffining Hardware for Rear Leaf Springs 1990 Chevy Silverado
The rear interruption under some classic Chevys is supported by a pair of leafage springs made up of multiple leaves (strips) of spring steel. Typically, they will accept three or four individual leaves that make a set of springs. Leaf springs take a specific curvature when they come from the factory, and this curvature and the number of leafs in the spring pack, determines the load chapters and the ride height of the vehicle. Nosotros're going to show you the the process and tools required to replace the leaf springs under your motorcar. This is not a hard task, just accept your time and pay attention to what yous're doing. Likewise, information technology's recommended to work on 1 side of the car at a time so you have the other side to refer to if you lot go stuck.
Tools You Will Demand
Unless your pause is infected with a lot of rust, you shouldn't need any special tools to complete the chore. You will need a couple of sockets (9/sixteen through 3/4-inch), a ratchet, and mayhap an extension or 2. Too, make certain yous have some wrenches (the same size every bit the sockets), and a hammer. Lastly, you'll as well need a flooring jack and a few jack stands.
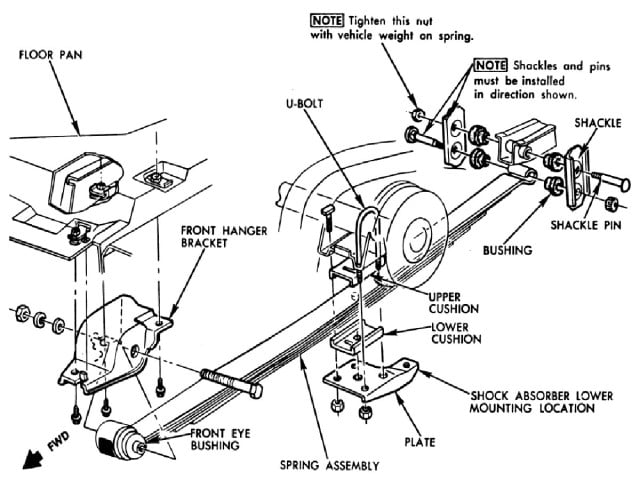
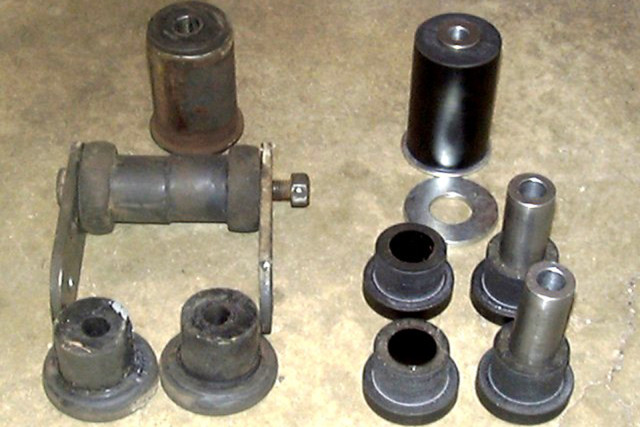
Apply this exploded diagram to follow forth with the text as we describe the process.
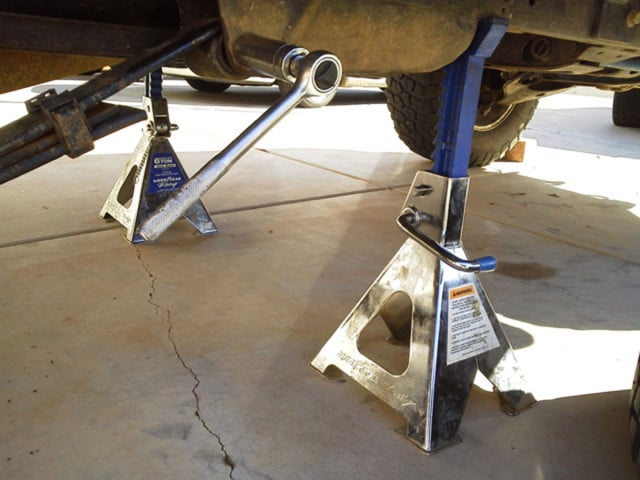
Step i: Raise The Rear
Earlier you showtime, park your car on a level surface. Place a tire chock in front of, and behind, one of the front tires to go along the auto from moving. Place your floor jack under the differential, and jack upwardly the car high plenty and so the tires remain off the ground when the car is supported by placing the jack stands under the frame.
With the car in the air, place 1 jack stand up under the frame rail in front of the foliage jump on each side of the auto. Side by side, carefully lower the jack until the auto is supported by the jack stands, and the rear is hanging by the foliage springs.
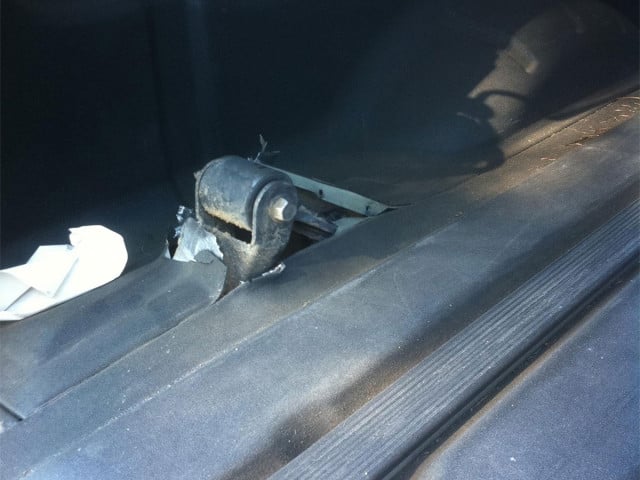
Proper placement of the jack stands on the frame rails.
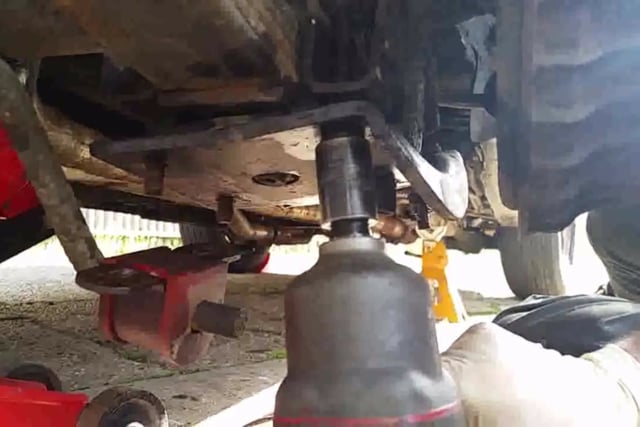
Step 2: Remove The Shocks
With the automobile supported by the jack stands, place the jack nether the differential, and enhance information technology just plenty to relieve some of the hanging tension in the springs. Using a socket, remove the two upper shock-mounting bolts.
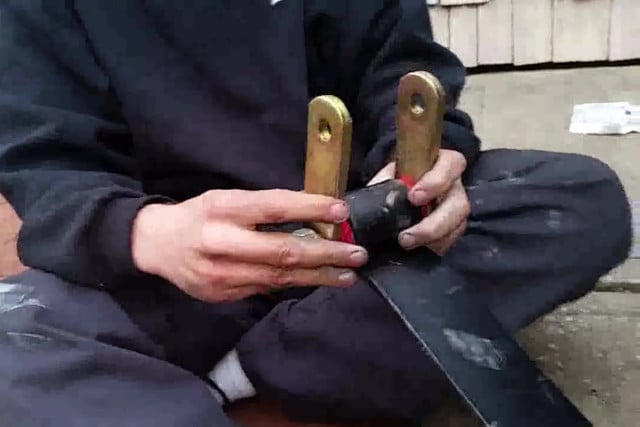
You'll demand a socket to remove the shock bolts.
Next, remove the nut securing the shock to the lower mount. Lower the jack enough to remove the shock from the car, simply don't lower it all the way. This keeps the beam housing from falling while you're doing the work.
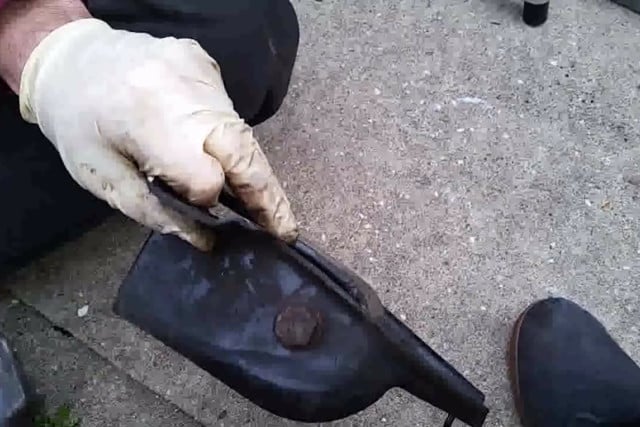
Step 3: Remove The Leaf Bound Bracket And Parking Brake Cable
Got a classic Chevy truck? This is what the front bracket looks like on a '54 Chevy pickup.
Remove the front end portion of the leaf spring. On older vehicles, such every bit the '54 Chevy pickup pictured above, this is a matter of removing the bolt securing the bound to the bracket. On cars, such as the 1970 through 1981 Camaro pictured below, yous must remove the iii bolts securing the spring pocket/forepart bracket to the frame before getting at the nut and bolt that secures the front of the spring to the car.
This is the front end leafage spring pocket on 1970 through 1981 Camaro. There are three bolts here to remove. Hither we're pointing at the bolt that needs to be removed to lower the foliage spring from the bracket.
Sometimes, the parking brake cablevision is attached by a clip, which is usually located about the spring plate on the leafage jump. Remove the cablevision from the clip.
Step iv: Remove Lower Jump Plate

In that location are four nuts that secure the spring plate to the beam.
Adjacent, remove the iv nuts from the U-bolts on the lower jump plate. Sometimes, there are upper and lower rubber pads between the spring and mounting plate. If they're present, be sure to put them back during reassembly.
A little heat from a torch volition assist loosen rusty nuts and bolts.
Before you try to remove the U-commodities nuts, it is a expert idea to spray a penetrating oil on the threads so the nuts practise not strip the the threads of the U-bolts every bit you try to remove them. Strip the threads, and yous'll need to buy new U-bolts.
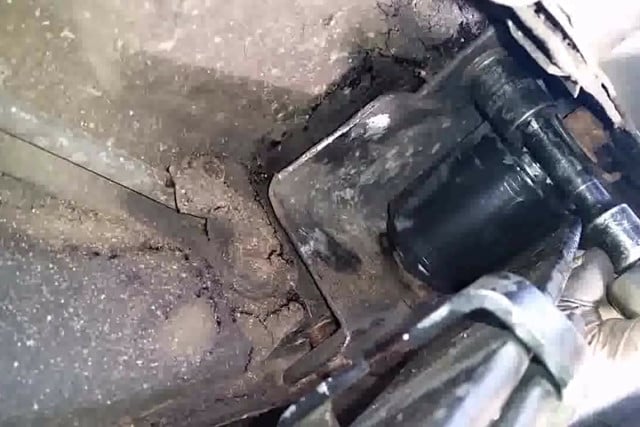
Left: If your motorcar is equipped with a rear sway bar, you can apply information technology to help concord the rearend stable. Right: With the 4 U-bolt nuts removed, you can remove the lower plate/shock mount and rubber pads.
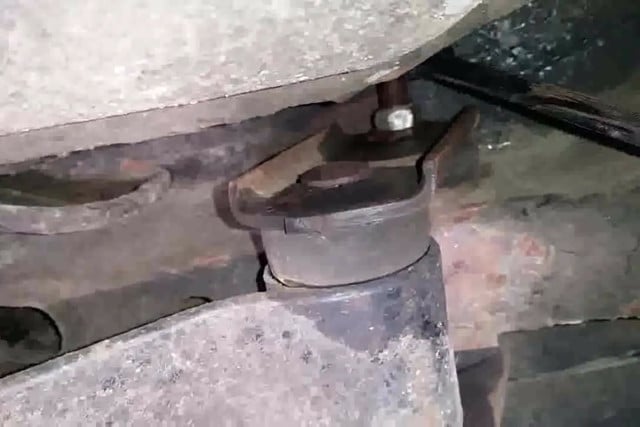
Footstep 5: Remove The Rear Shackles And The Leaf Spring
The bolts for the rear shackles insert from opposite sides. Make note of what goes where for reassembly.
Here'southward where having a 2nd flooring jack can exist handy. Place the second jack under the foliage spring, and raise the jack just plenty to contact the spring to relieve some of the tension. Next, remove the lower shackle bolt, lower the jack, and remove the leap.
Step six: Out With The Onetime
The upper shackle bolt is the terminal one to come up out. Call back which side the nut is on.
When you remove the shackles, pay attending to the orientation of the upper shackle bolt. It must go back in the same way it came out. This is and so the moving pause tightens the bolt instead of loosening it. Remove the shackle bushings from the frame and then they can exist replaced.
Step 7: Adhere The Forepart Bracket
Make sure the spring lies affluent with the lower border of the front end leap pocket/bracket.
Before reassembly, use antiseize to the new bushings and insert them into the front spring heart. Also apply anti-seize to the inside of the bound eye. Don't forget to install the tubular bushing support earlier bolting the jump into the front spring bracket/pocket.
Polyurethane versus Rubber Bushings:
Hot rodders take been arguing for decades about whether polyurethane is better than rubber for bushings. If you're building a restored bear witness car, or you want more of a stock feel to the ride, y'all want rubber. Well-nigh manufacturers used rubber for their bushings considering rubber supports a soft ride quality, and are the main characteristic that influence many hot rodders to utilise polyurethane bushings. Poly lasts longer, and information technology's firmer. This is of import for performance enthusiasts.
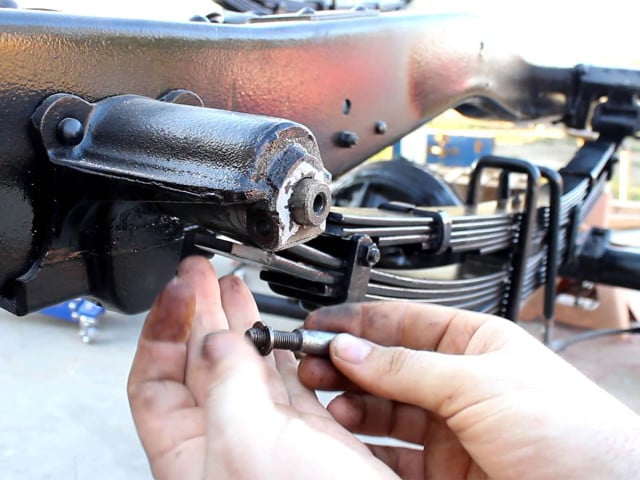
Position the bound mounting-subclass over the front end leap middle of the new leap, and install the bolt through the mounting bracket and spring center. Make sure the bolt caput is positioned and then that it is facing the center of the car when the leap is installed. This is done in example the bolt loosens, to ensure that while the bolt might become loose, information technology won't fall out and cause a serious accident.
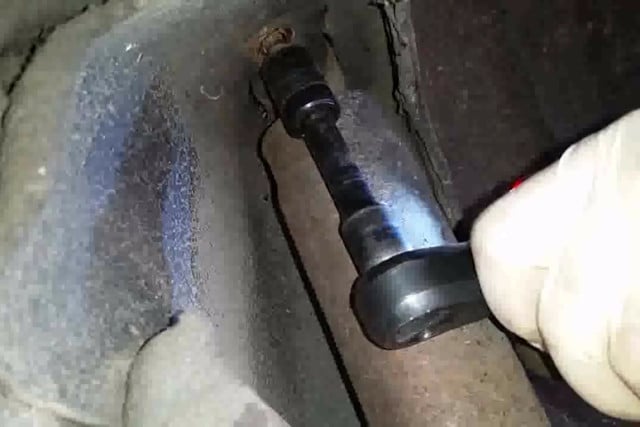
Step eight: Install Shackle Bushings
At present is a proficient fourth dimension to supercede the shackle bushings located in the frame (at the rear of the spring). Shackle bushings that don't want to come up out hands tin can be drilled or chiseled out. Be careful to not score the sides of the pigsty where they are installed.
Polyurethane bushings don't distort over time the manner rubber bushings do.
Clean the bushing holes prior to installing the new bushings with a piffling WD-40. Next, apply some anti-seize to both the bushings and the inner diameter of the bushing hole in the frame, and slide the new bushings in identify. Don't forget the bushing insert sleeve in the bushing's hole. Again, when reinstalling the bolts, make sure the positioning of the bolts is equally they came out. This does quite frequently brand information technology a pain to become the bolt in and out, just isn't something that can exist overlooked. Do not get frustrated and decide that installing the bolt is taking too long or is too difficult and but install the bolt yet information technology is easiest. It's put together this way for a good reason. If the commodities loosens and comes out while driving because information technology is not installed properly, you lot run the chance of equipment failure, and mayhap, an accident.
You may need to use a pry bar to install the frame bushings.
Anti-seize compound helps make installing the new bushings much easier.
Step nine: Install Shackle
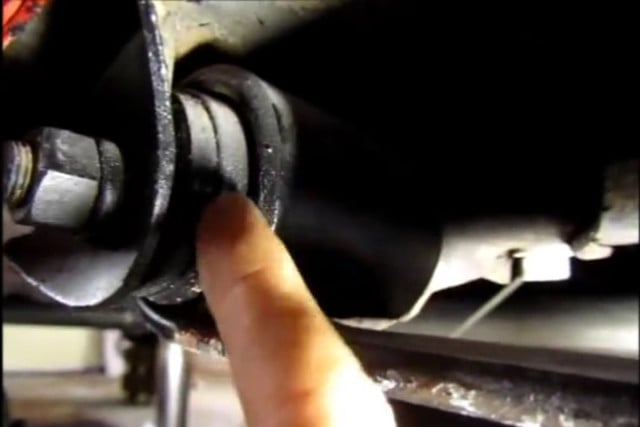
Make sure you insert the shackle-to-jump bolt in the proper orientation.
Adjacent, place the bushing into the rear spring center and mount the shackle. Install the through-bolt with the bolt head facing the exterior of the car. Raise the rear section of the leafage leap into place, and insert the upper shackle commodities in the proper direction. Leave the basics loose at this fourth dimension.
Footstep 10: Attach The Front Mounting Bracket To The Car
Heighten the front of the spring and bracket assembly into place and install the iii bolts.
Make sure the parking brake cable is below the spring, and elevator the front of the spring and the bracket into position. There is a tab on the bracket that must slide into a corresponding hole in the torso. Loosely install the mounting-bracket bolts.
Step 11: Install The Leap Plate And Buffer Pad(due south)

It's important to marshal the condom cushions properly when reinstalling them.
If your auto was designed with leap cushions, they only fit one way. The pads must line up and fit the jump and plate properly. In that location is also a pigsty in the spring plate that the bolt going through the springs fits into.
Locate the ribs on the cushion and the upper bound mounting plate. Install the upper cushion so these line up. Install the lower cushion pad with the spring locator dowel pin. Position the leap plate and so the dowel pin and holes line up. Loosely install the nuts and bolts.
Footstep 12: Reattach The Daze Absorber
Slide the shock into place and loosely install the hardware. Likewise move the parking brake cable into place and secure it.
Left: It'due south easiest to install the shock into the lower mountain first. Call back to place a washer and then a bushing over the lower stud prior to installation. Right: Installing the upper shock mounting bolts.
Footstep 13: Tighten Everything
The last stride is to tighten everything. This ways both upper and lower shackle bolts, the 4 nuts on the lower spring plate/stupor mount, and the 3 bolts on the front bound subclass/pocket.
Take care when putting things back together. Wrong reassembly can cause a large trouble.
Call up, ever habiliment safety glasses whenever working under your car. Rust and clay have a way of finding their way into your eyes.
0 Response to "Stiffining Hardware for Rear Leaf Springs 1990 Chevy Silverado"
Post a Comment